DIY Hoop House Greenhouse Design and Build
As a kid, I tried to make my own solar ovens. I fashioned old windows together, and put pans of water inside to heat. They usually sucked, but these experiments spurred my fascination with greenhouses. Like my grandfather, I love growing things, and would imagine creating an endless summer indoors where I could grow exotic plants. Last year, my childhood fixation was revived when we visited the earth-ships in Taos, New Mexico. This summer, I finally decided to design and build my own greenhouse.
 The new Crazy Kicks HQ
Why not to build a passive solar greenhouse
I actually wanted to build an earth-ship. The passive solar concepts are too cool, and I even started collecting windows. This design usually has one side facing south with windows angled to collect heat from the sun, and another side that is insulated and contains some thermal mass to store the heat.
In the winter, the sun is low in the sky, and all of the solar energy is trapped by the angled windows. The thermal mass heats up during the day, then puts off heat all night. In the summer, the sun is high in the sky and doesn’t come into the windows, keeping the space cool. This passive, self regulating design keeps earth-ships a comfy 70 degrees year round.
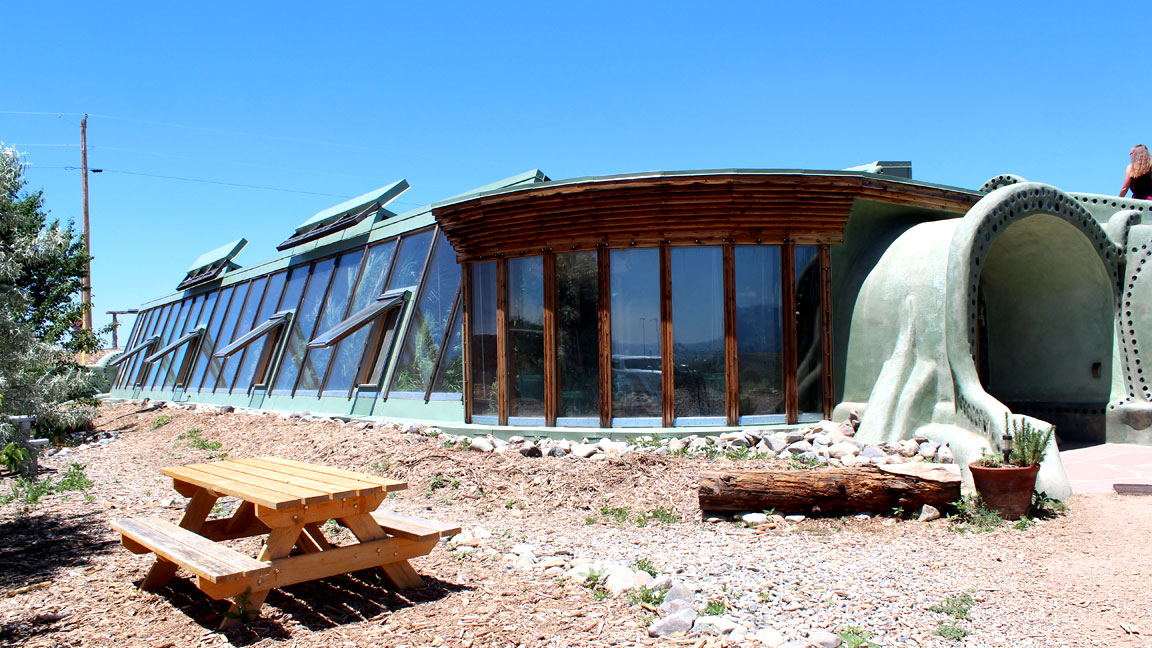 A passive solar earthship we saw in New Mexico.
I love the idea, but when contemplating my own design, I found a few issues.
First, an earth-ship is a serious structure. I would need to build insulated rear walls, build up thermal mass, and install some big ass windows. With limited room in the yard, and neighbors close by, I wasn’t too keen on erecting a big permanent structure.
Second, a passive solar design is perfect for us, but not necessarily for the plants. The design is intended to reduce sunlight coming in during the summer to keep things cool, but I still want to grow in the summer. I plan to start heat-loving plants like tomatoes and cucumbers earlier inside. They wouldn’t be happy if they stopped getting sunlight later in the summer.
Designing a snow proof hoop house
Once I dropped the passive solar concept, I concentrated on designing a basic, cheap, sturdy, and movable greenhouse. Based on those criteria, I settled on a hoop house. After poring over the internet, I found an awesome resource from the University of Illinois extension that outlines different types of hoop house designs.
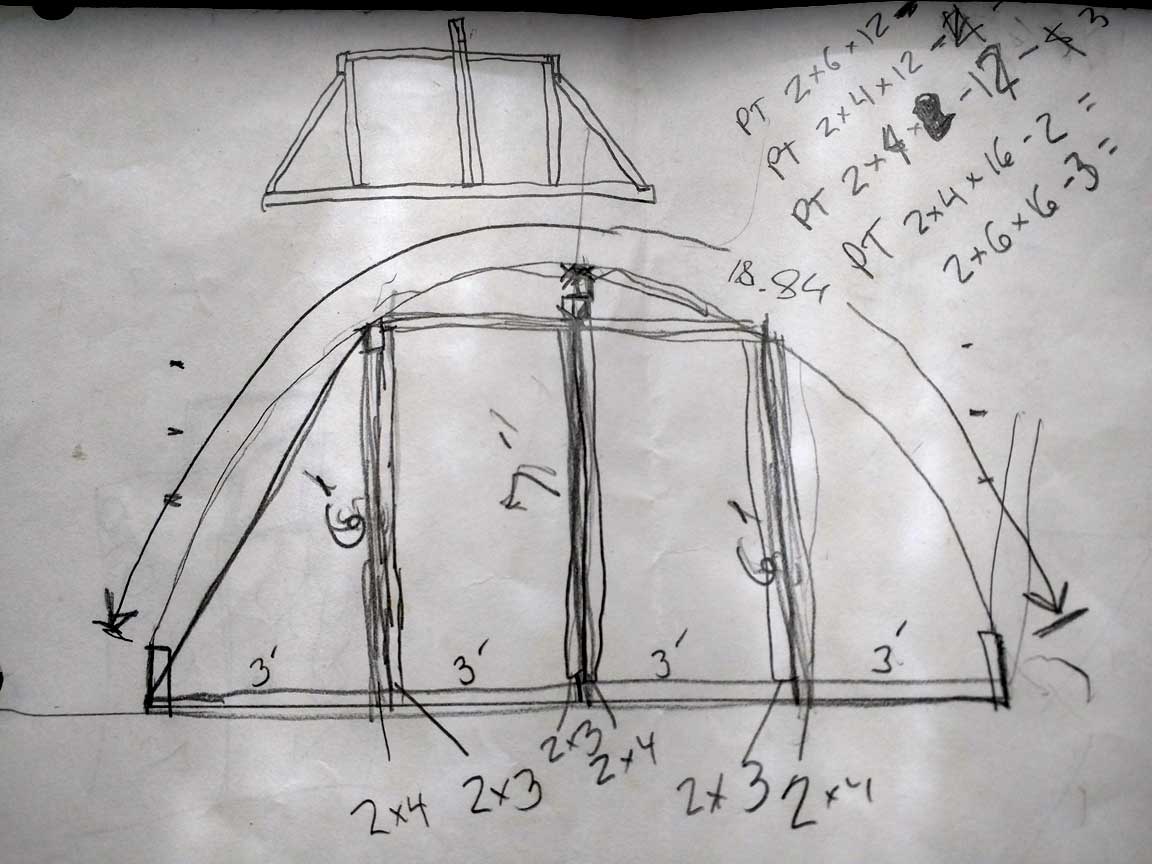 After hours of designing I had these scribbles to show…
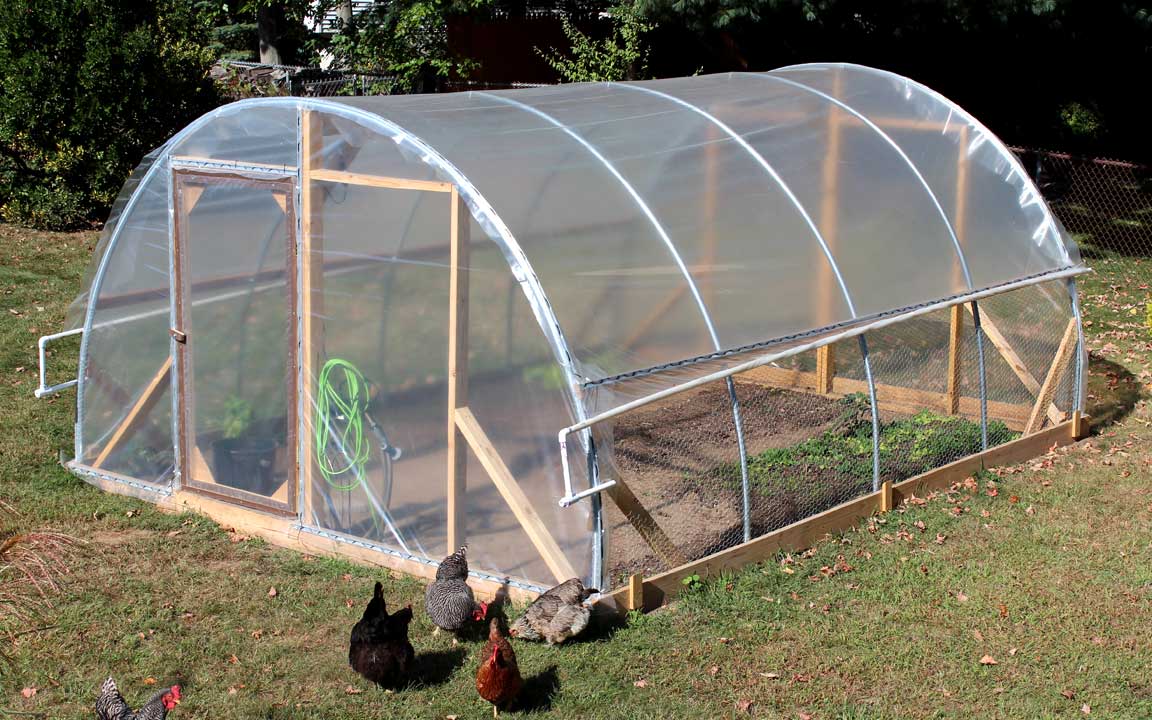
I followed a lot of the design principles from that paper. The ribs are spaced 4′ apart, the end-walls are braced to add rigidity, and the sides are screened in and roll up for ventilation.
Being in New England however, poses another issue. Hoop houses have a tendency to collapse under heavy snow. This is less of a problem if you plan on heating the greenhouse because some of the snow would melt. But I plan on leaving mine passive, and just using it to extend the seasons.
New hoop houses use a Gothic arch to help shed snow. I saw a local farm go to this design after their semicircle Quonset-style greenhouse collapsed. This would be a great idea, but since I planned on bending my own hoops, I wanted the shape to stay basic. So to help account for snow load, I added a 2x6x16 beam down the middle.
Hoop house materials
I designed the structure around materials that are available at any big box hardware store. The ribs are each made from two sections of 10′ chain link fence top-rail. The end-walls and base are made from pressure treated lumber. To keep cost and waste down, I optimized around dimensional lumber sizes and ended up with a 12’x16′ footprint.
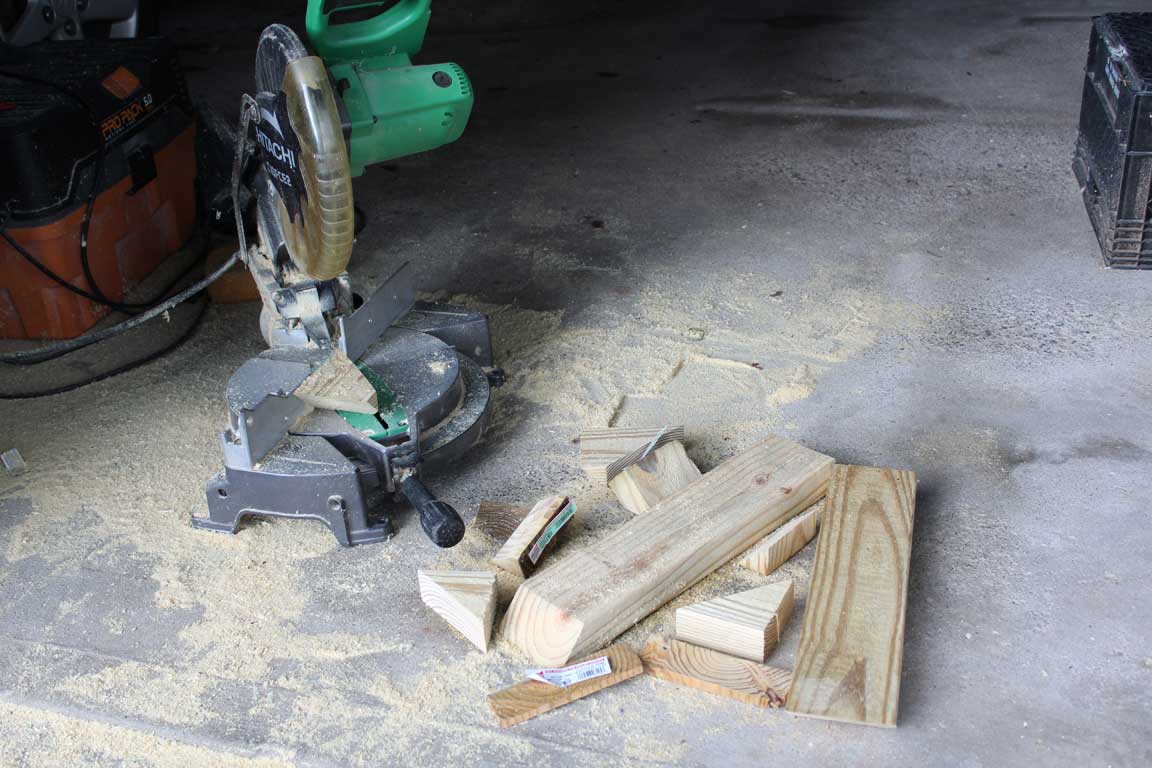 This is all the scrap I was left with, and even ended up using the two longer pieces.
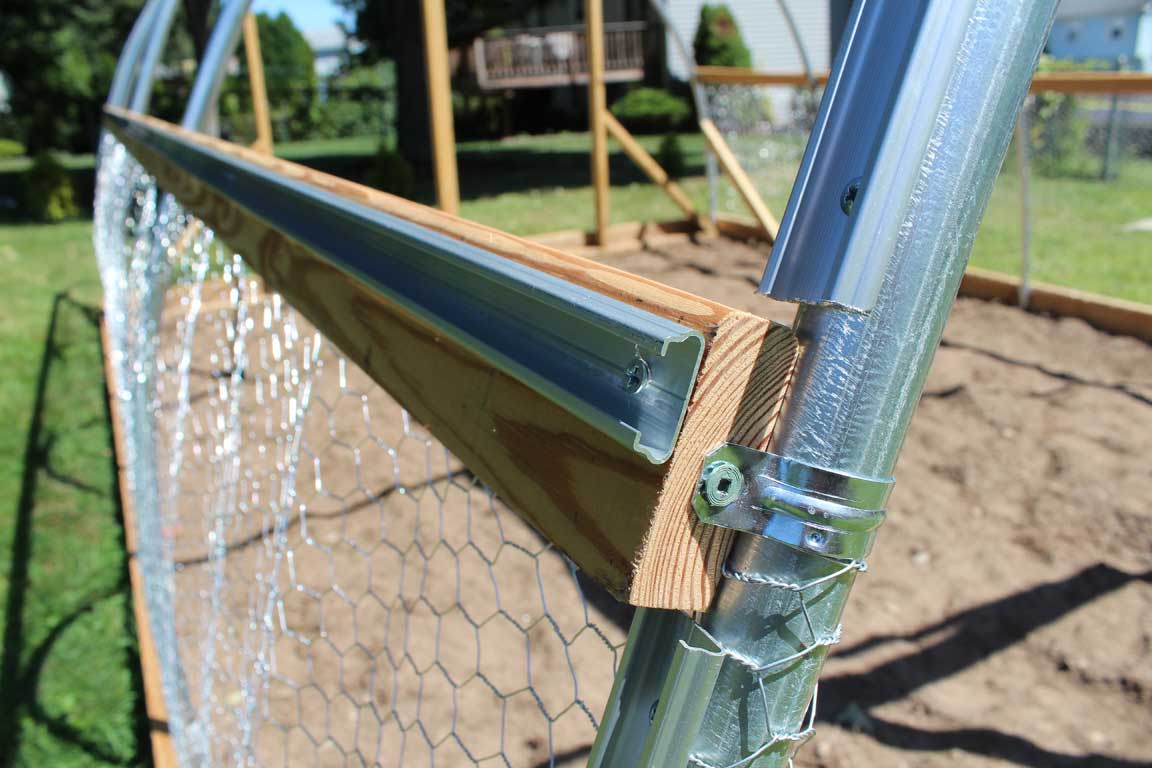
I connected the metal ribs to the wooden frame using a combination of electrical conduit straps and 3″ deck screws which I drove through pre-drilled holes in the pipe.
I had to order the materials for the covering online. The plastic is a special UV treated 6 mil greenhouse film (affiliate link) that is supposed to last 4 years. It’s held in place using wiggle wire channel lock (affiliate link.) This stuff is awesome. You jut pull the plastic over the channel and then wiggle the wire into place. The wire acts as a spring pushing the plastic against the channel keeping everything secure.
 Wiggle wire channel lock
I attached the channel lock to the frame using self-drilling screws (affiliate link.) I was surprised how easily they went into the metal frame.
DIY hoop house hoop bender
While you can buy a hoop bender for about $50 (affiliate link,) I don’t like having single use tools or spending money. Instead I made one myself. All you really need is a semicircle to bend the pipe around. I took a scrap 2×6 that I had laying around, tied a 6′ length of string to the foot of a table and then pulled it tight to scribe a 6′ radius curve on the wood. I cut the curve out with a jigsaw, and then lag bolted it to a stump in my yard with an opposing 2×4 at the end.
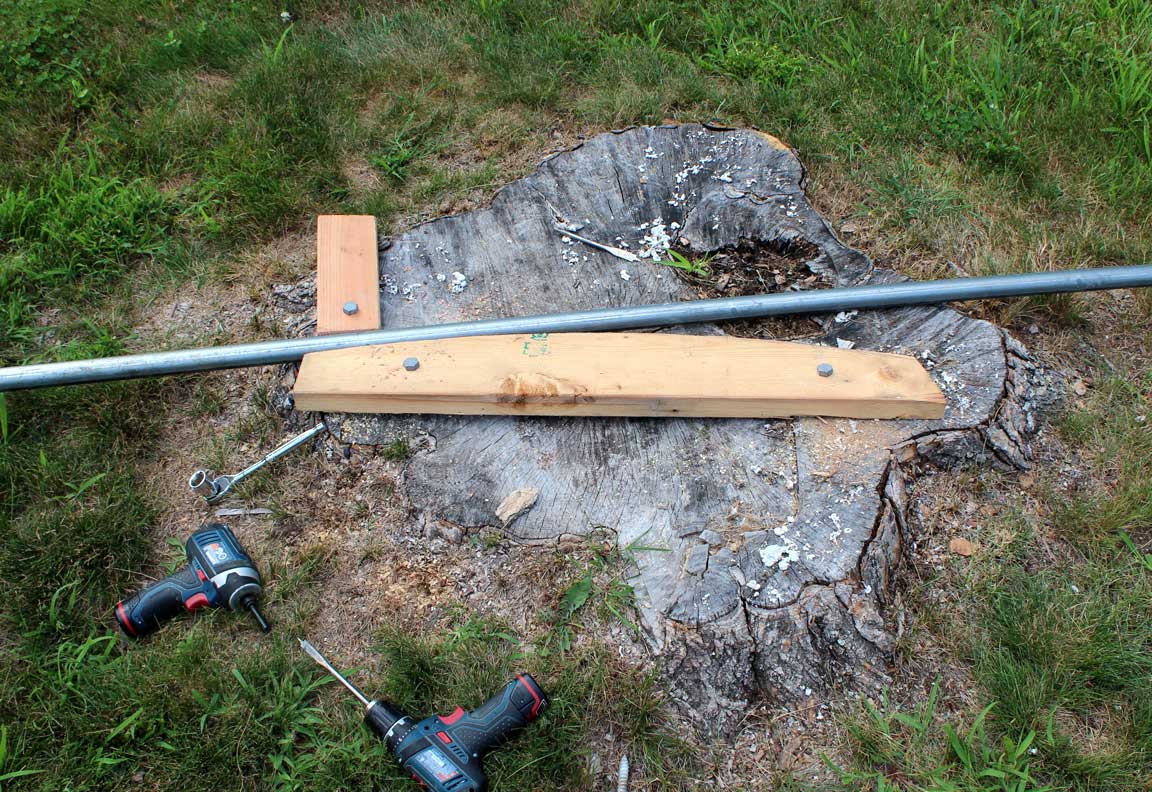 DIY hoop house hoop bender
This worked well enough, but if I did it again, I’d make a smaller curve than what’s needed. The pipe tends to bend back a bit after being pressed around the curve, so it would have been better to give my pipe bending template something smaller than the 6′ radius.
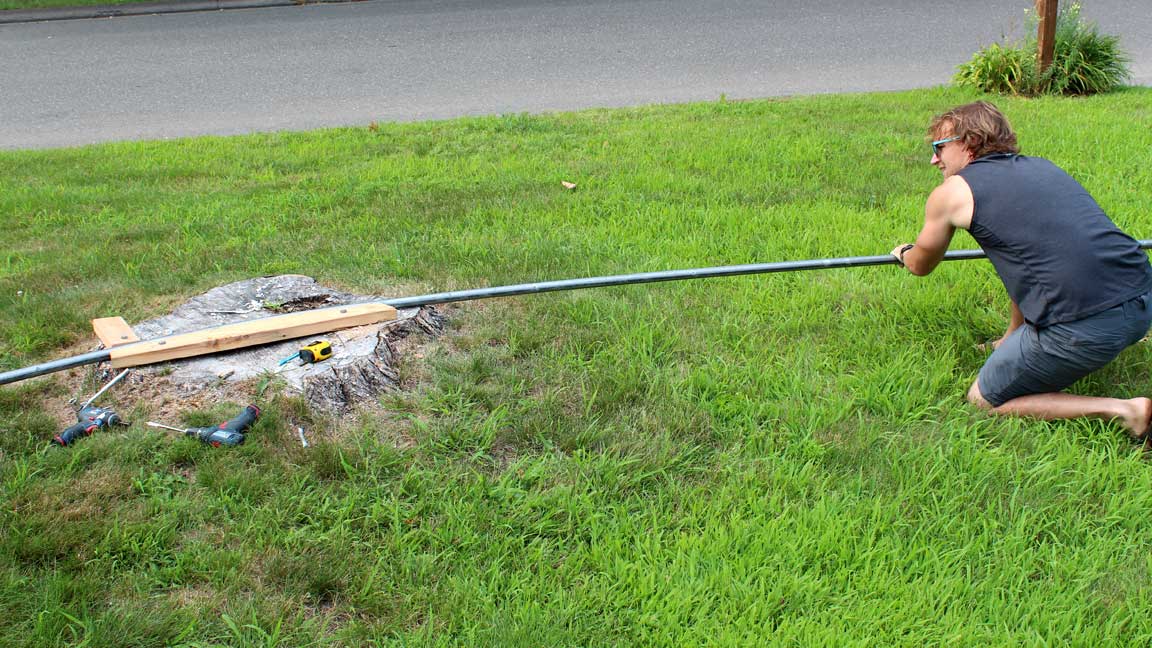 Bending on the bender
I also would have made a flat surface for the bent part of the pipe to rest on. As I moved the pipe through the bender, it tended to droop and not all of the bends ended up in the same plane. Some of the the pipe got a bit twisted and didn’t lay flat. While a bit wonky, they still work fine.
Building the hoop house
Once I had my hoops, I set them up around the yard to test out locations. I settled on a spot that was partly shaded by trees in the summer, but should have full sun in the winter. After squaring up the posts, I prepped the ground with my tiller and pulled out rocks.
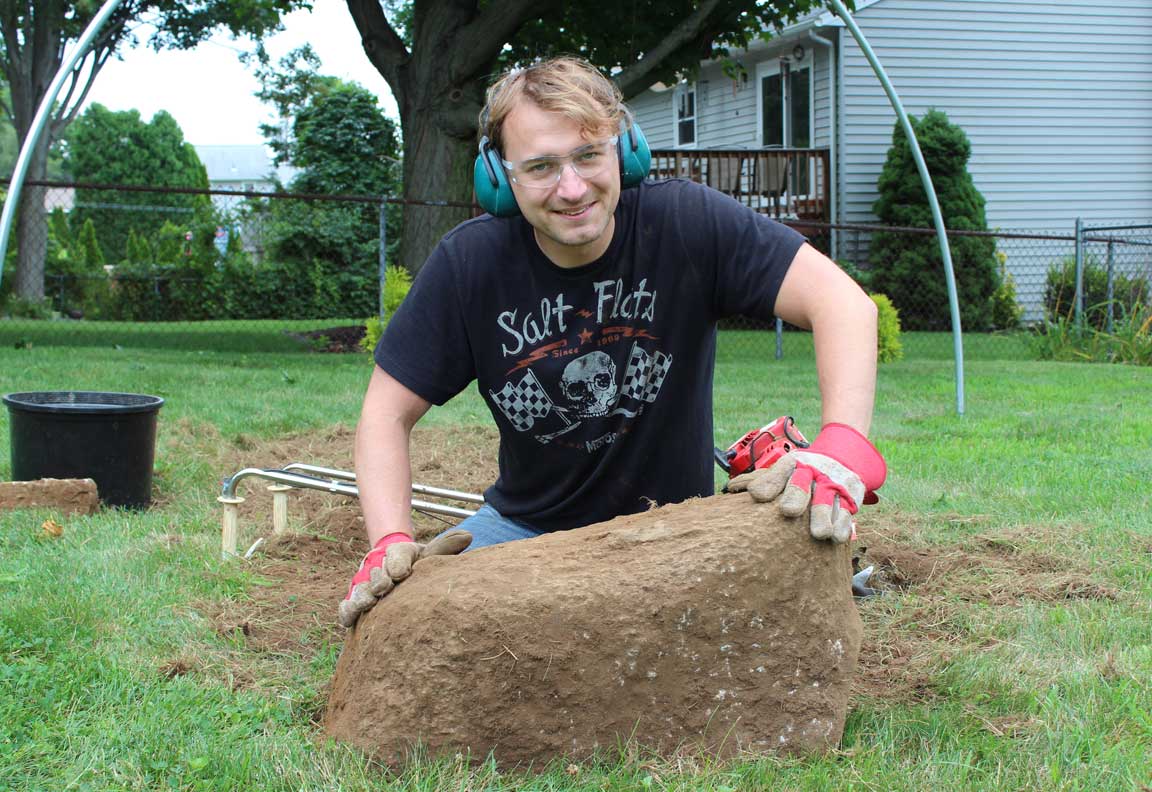 We have big rocks
I assembled the end walls in my garage so I would have a relatively flat surface to work on. Then, with Mrs CK’s help, hauled them out to the yard.
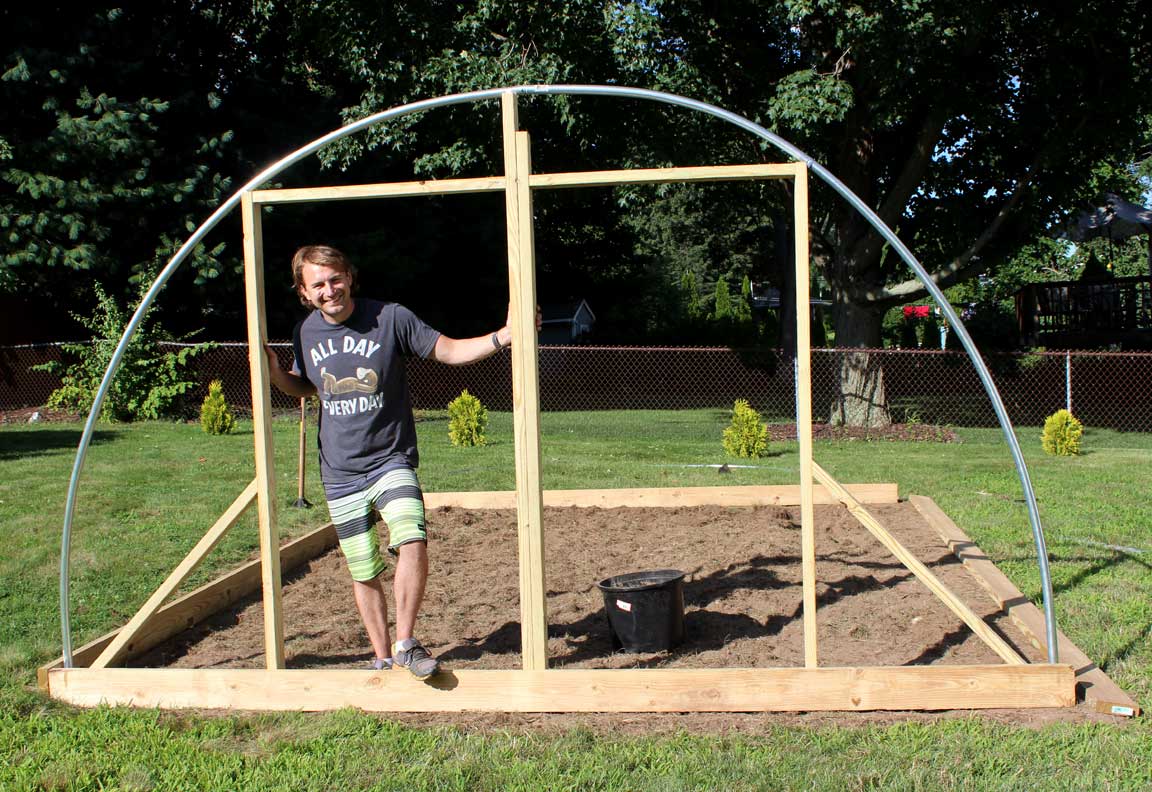 Most days I work in my bathing suit.
At this point, I leveled everything using temporary bracing, and bolted the frame together.
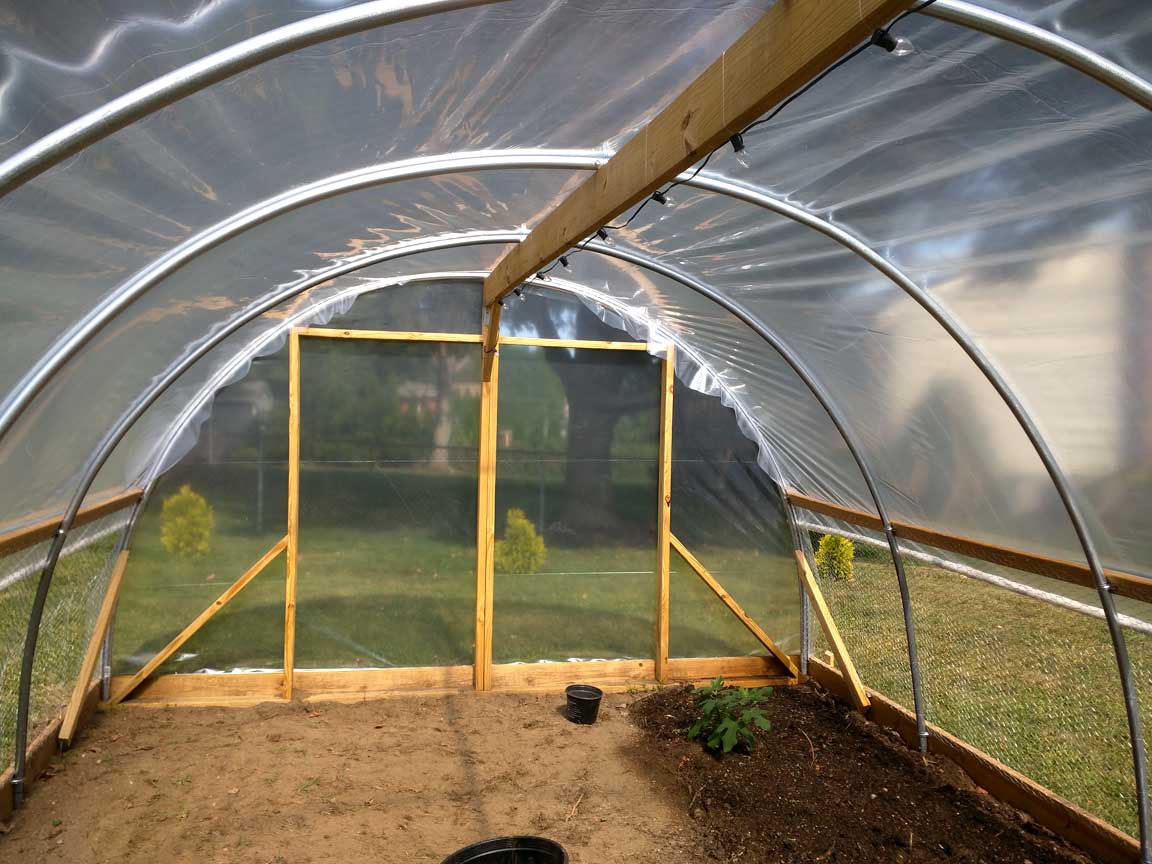
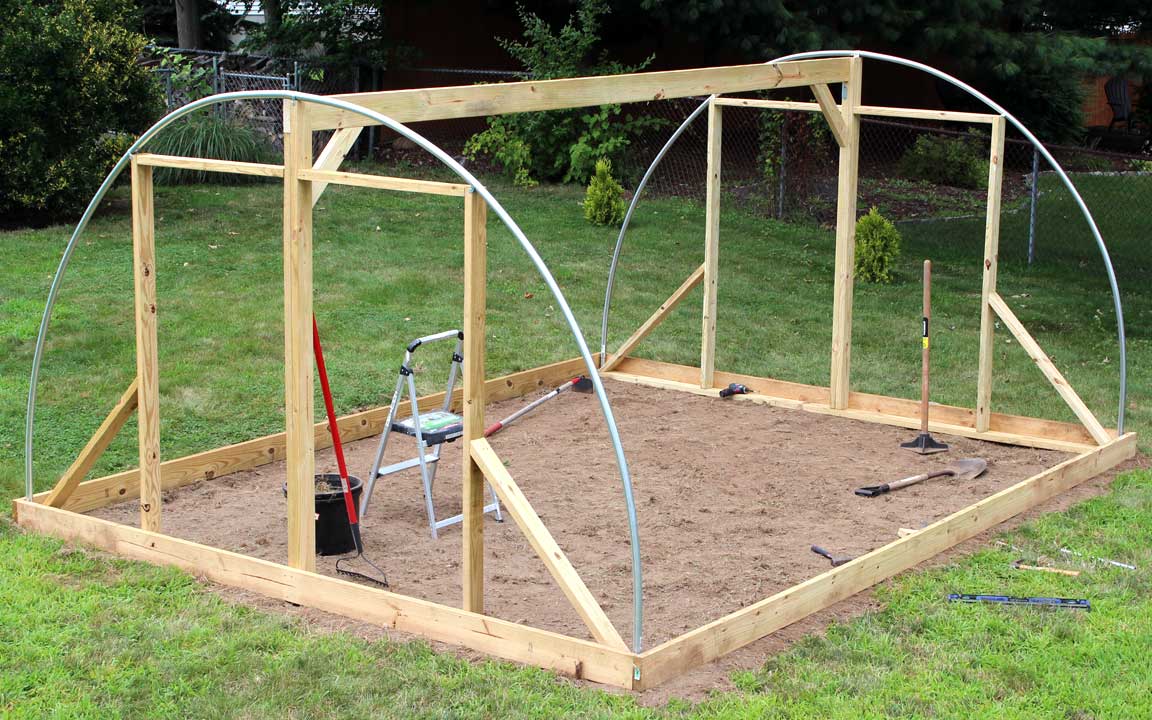 Sturdy frame
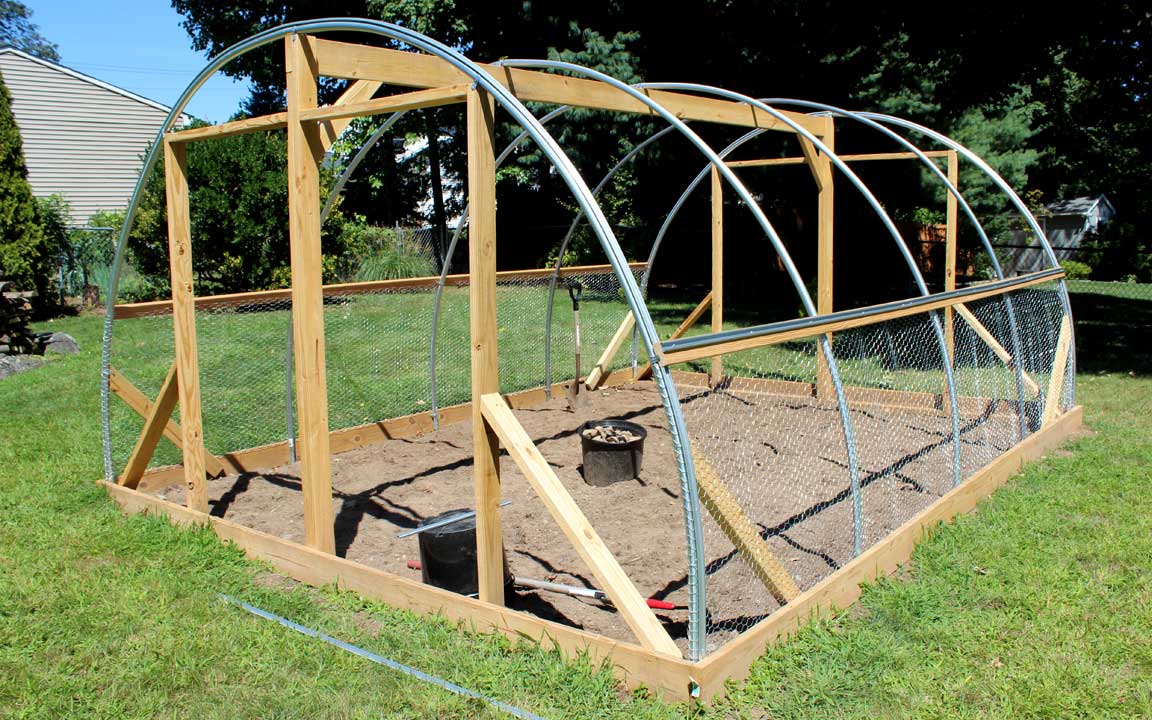
Once the frame was solid, I added the channel lock for securing the plastic, and some chicken wire to keep out critters when we open the sides for venting.
I was pretty excited when the plastic showed up. It was a windy day though, so I waited for a calm day. It’s tough enough getting the plastic into place without the wind trying to take it.
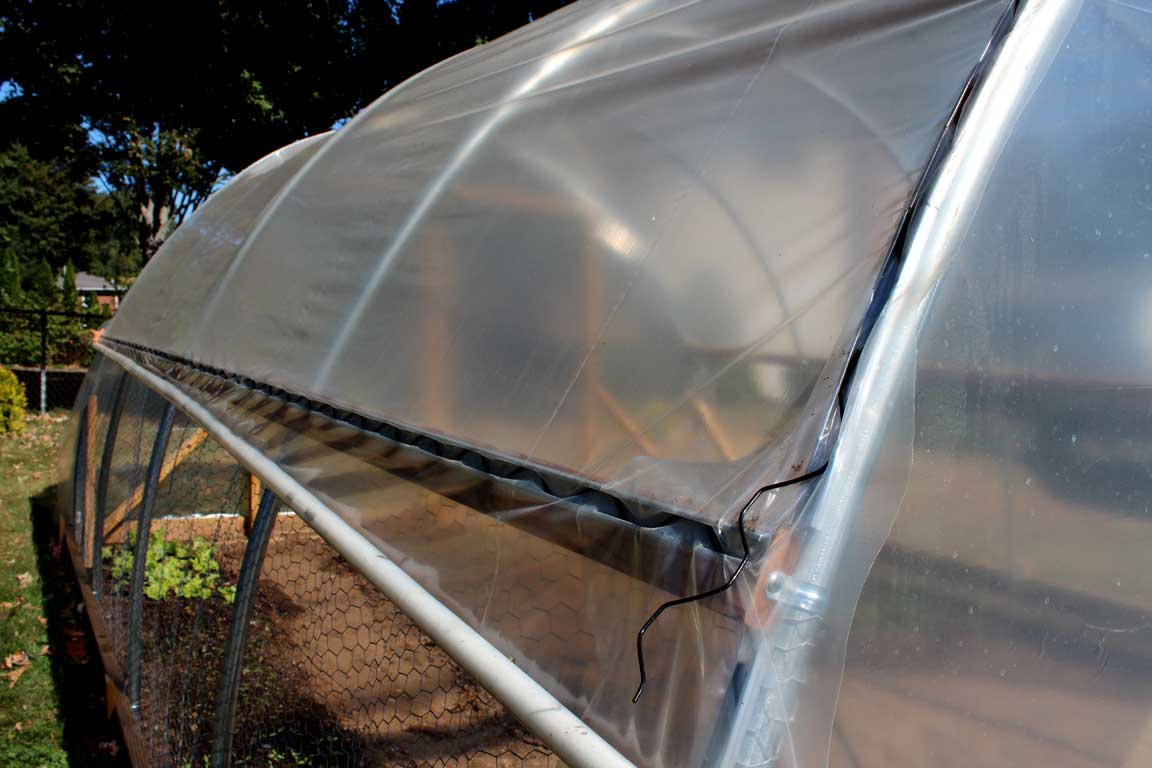 Plastic secured with wiggle wire
As soon as we started putting the plastic on, the heat picked up inside. It’s incredible how much heat this thing traps on a hot day. I kept the sides closed the first day as a test, and my glasses instantly steamed up every time I went inside – it was working!
So far it’s still been too warm to close the vents
The cost of building a DIY greenhouse
I like to recycle and source most of my project materials for free. Earlier this summer, I built a treadle feeder for the chickens and a new compost bin using materials I pulled out of a dumpster.
For this project, I did source one of the ribs from an old chain link fence I took down, and the door is made from recycled wood I pulled from a dumpster. Unfortunately, most of the other materials I had to buy new. Still, doing everything myself saved a good bit of cash.
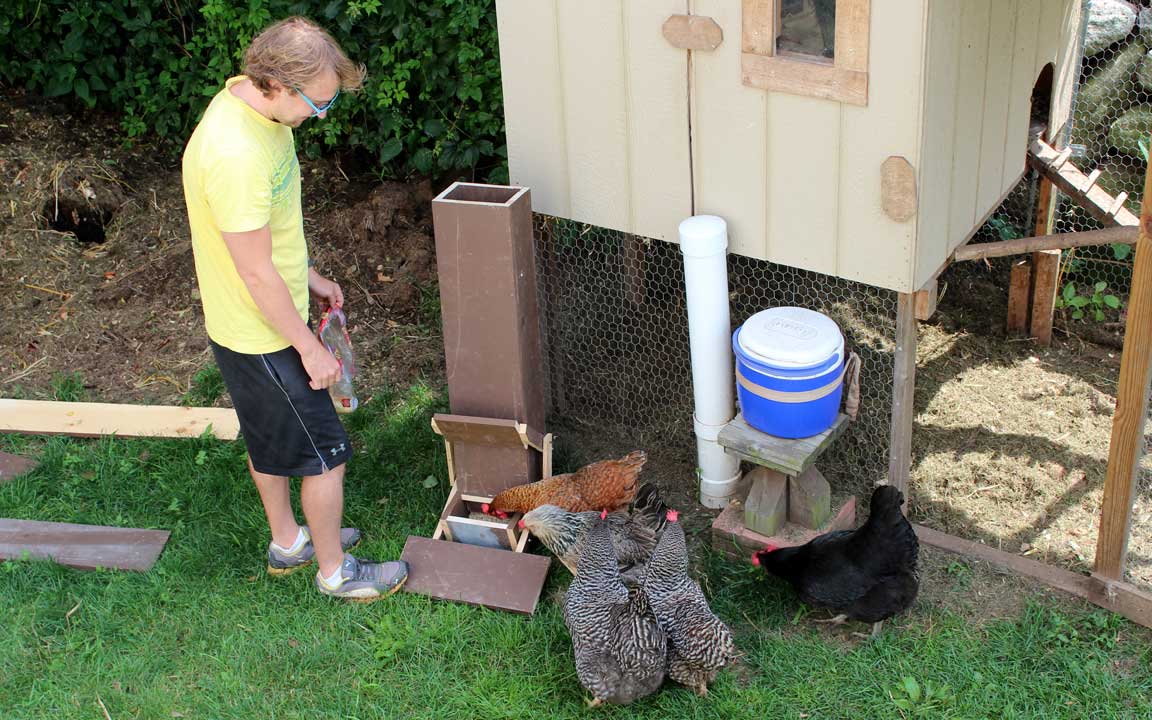 The chickens didn’t care that I made their treadle feeder out of trash 🙂
The materials for the frame, including lumber, fasteners, chicken wire, and chain link fence railing cost about $350. The greenhouse film and wiggle wire channel lock set me back another $300. That’s about $650 to build a solid – hopefully snow-proof – 12’x16′ greenhouse.
Now to extend the growing season
Once everything was set, I planted one of the fig trees I started this spring, lettuce, kale, tatsoi, green onions, carrots, and turnips. To make things easier, I ran a power cord and hose underground to the greenhouse.
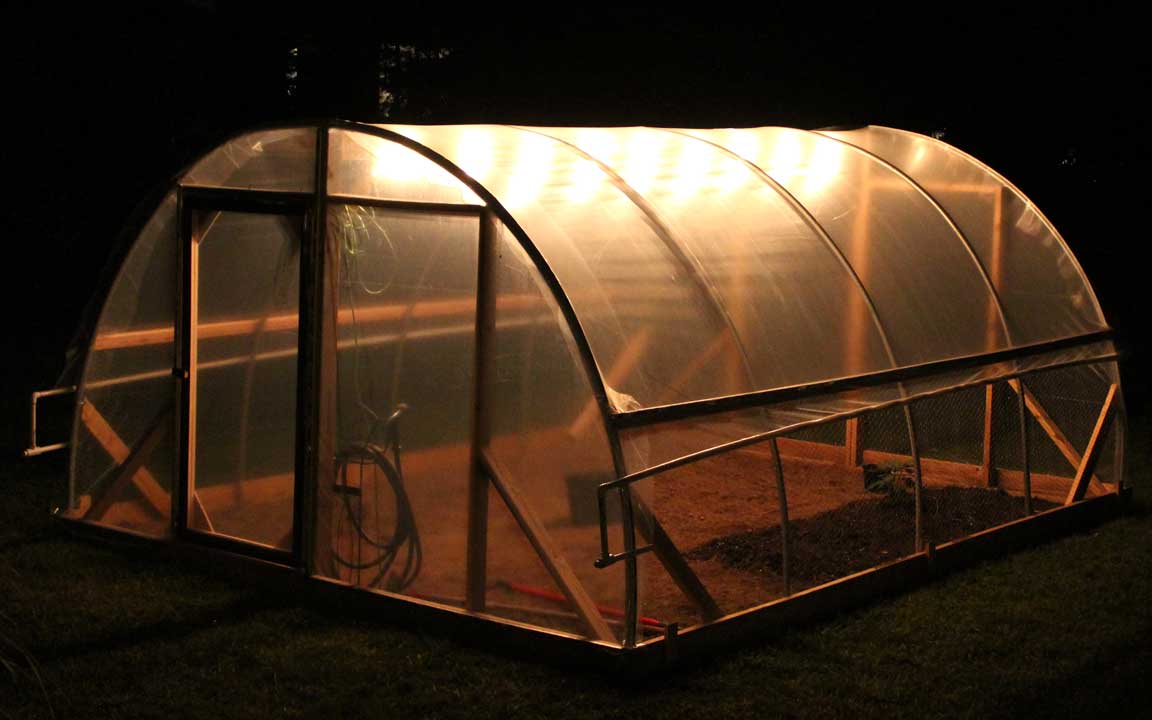 Don’t forget the party lights!
While I haven’t had the weather to truly test it out yet, I already love my new space. It’s not just a haven for our plants, but also an extra space for me to get some sunlight and have my hands in the dirt when it’s too cold outside. I’ve been learning a lot about growing my own food lately, and am looking forward to exploring gardening in a whole new dimension.
* After building the greenhouse, I spent a year running experiments with the main goal of extending our growing season. You can check out the results here.