Brewing Crazy Awesome Beer Cheap
I like beer, I like it a lot actually, and the beer scene in New England is outstanding. For me, there’s nothing better than a juicy New England style IPA exploding with hop aromas. The only problem is these brews are more expensive to make and in high demand, which means if you can get your hands on them, they sell for $10 a pour. A few years ago I brewed my first citrusy IPA. It turned out good – like really good – and I’ve been hooked ever since. These days, for about $0.40 a beer, I can brew something that to me rivals the best beers in New England. I’m going to share the cheapest all grain brewing setup that I’ve found.
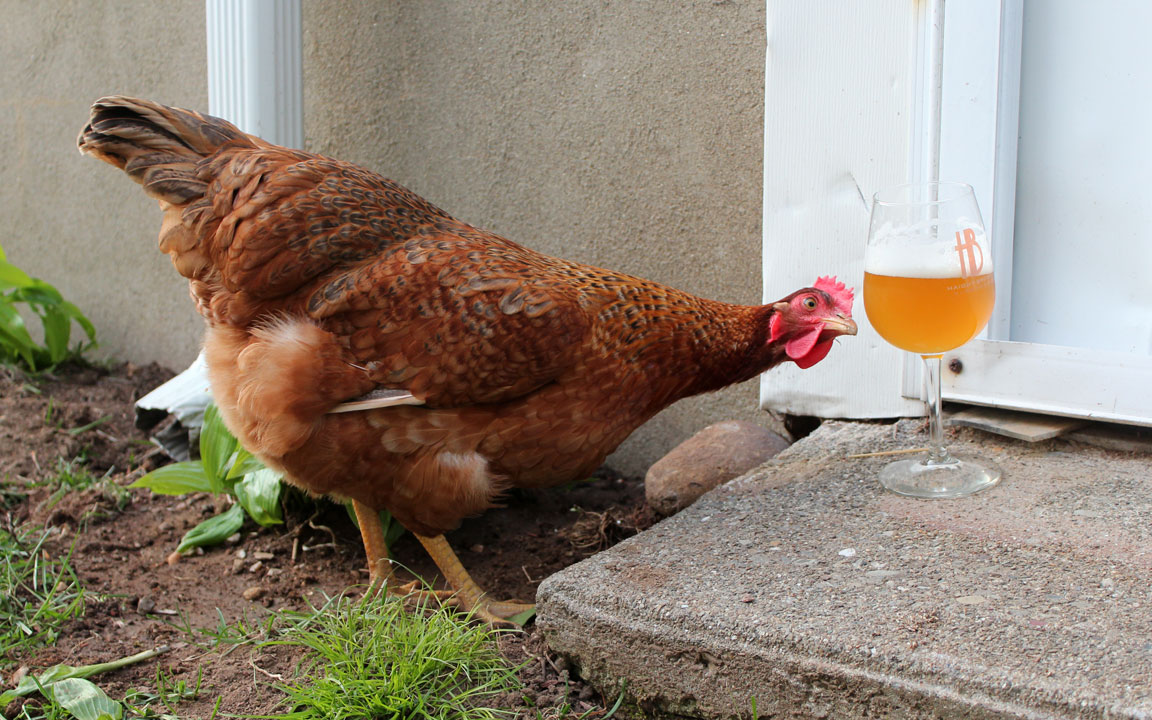
 One of my home brews with home grown hops.
Most of the beers I make take around 6 hours of work over the course of a couple of weeks. A lot of the work revolves around cleaning and sanitizing pots, carboys, and bottles. But I think the best things in life come with a little bit of work, and there is nothing more rewarding than enjoying one of your own cold ones.
All grain brewing steps
At its basics brewing involves converting malted barley to sugar water or wort, cooking the sugar water with hops, then fermenting it with yeast. It’s possible to skip the first step and just buy the already extracted sugar, but it’s more expensive. I do all-grain brewing, which is starting from the malted barley grain. This involves a bit more time and equipment, but the ingredients are cheaper, and you have control over the entire process.
Make your own home brew recipes
I’ve never purchased a kit – they usually cost double or more what the ingredients alone would cost. Making your own recipe and experimenting to see the effects of different ingredients is all part of the fun. If you have a particular beer you want to try, just google the recipe. What you find online is likely the same recipe in the home brew kits.
 Save money by making your own recipes and buying ingredients in bulk.
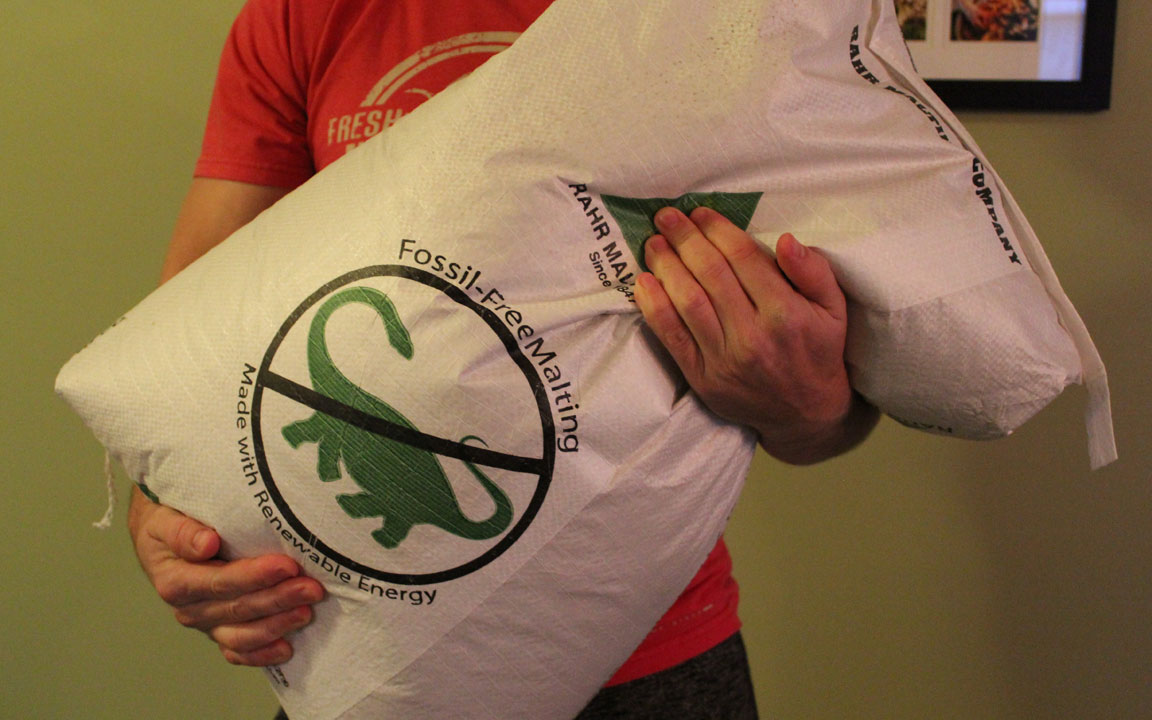
Select the malt for all grain brewing
Malted barley is the main ingredient, and where the sugars come from. I buy it in bulk to save money. A 50 lb bag of malted barley (affiliate link) usually sells for $55 at my local homebrew store, and is enough for 5 batches of beer. There are also specialty malts, that I buy by the pound, which are usually roasted at higher temperatures to add some caramel flavors and color to beer.
Crush the malt
On brew day, I take all the grains in the recipe and crush them. This exposes the starches so they can be converted to sugars. I use a Barley Crusher (affiliate link) malt mill along with my cordless drill to grind everything up.
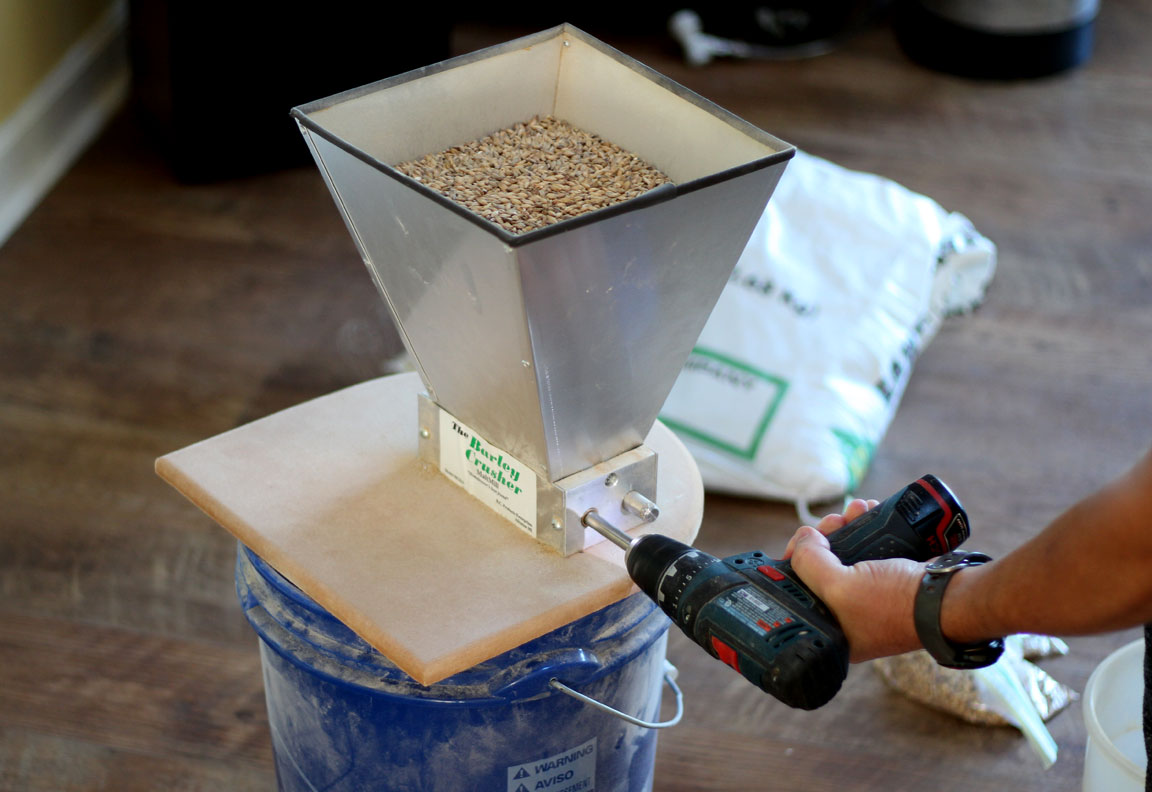 Crushing my grains.
The cheapest all grain brewing setup
To convert the grains into sugar water or wort, I use the brew-in-a-bag method. It’s the cheapest all grain brewing setup. All you need is a mesh brew bag (affiliate link) which is used as a giant tea bag to steep the grains in a big pot of hot water. I add the grains to the hot water slowly while mixing them in so they don’t clump up.
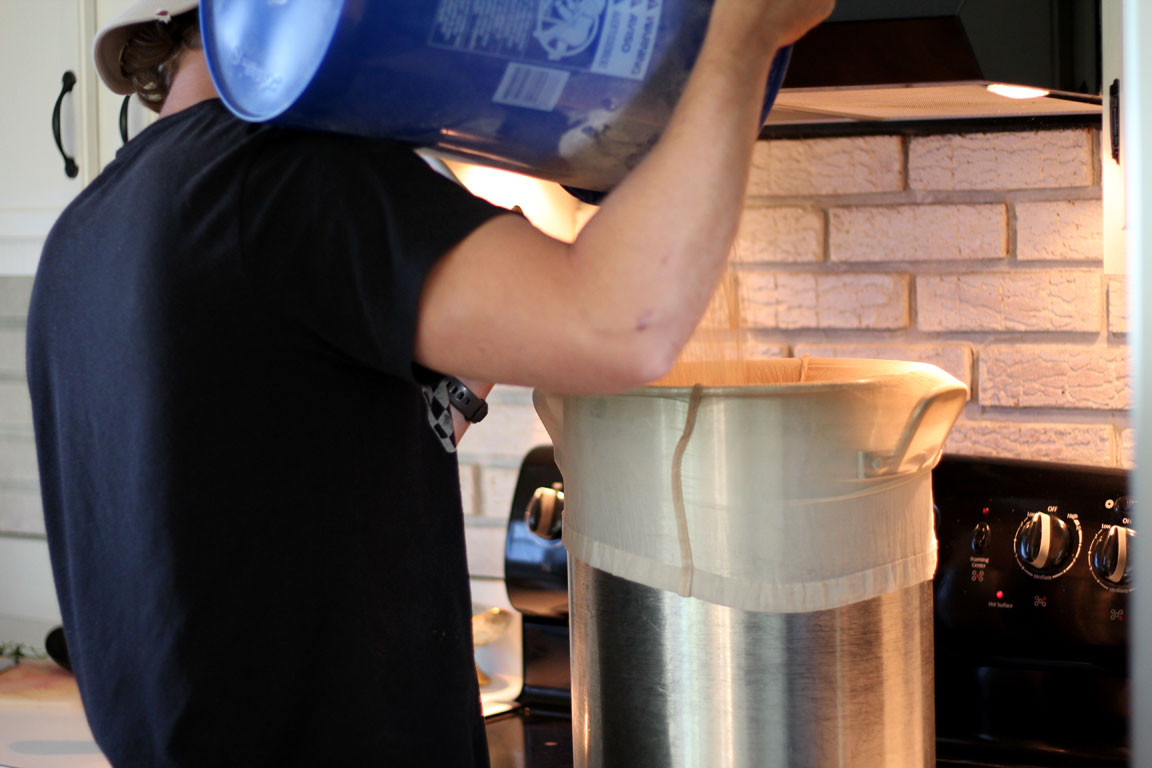 The cheapest all grain brewing setup.
The grain needs to steep at an exact temperature. The maltose enzymes that convert the grain starches into sugar are active when the temperature is between 146 deg F and 156 deg F. For a good conversion, the temperature should stay in that range for about an hour. To keep my brew from cooling down during this time, I use an old ski jacket for insulation in my cheap all grain brewing setup.
 My brew doesn’t take any shit.
After about an hour of brewing the grains, I just pull the bag out and let the liquid drain off. I’m then left with nice sugary wort ready to cook.
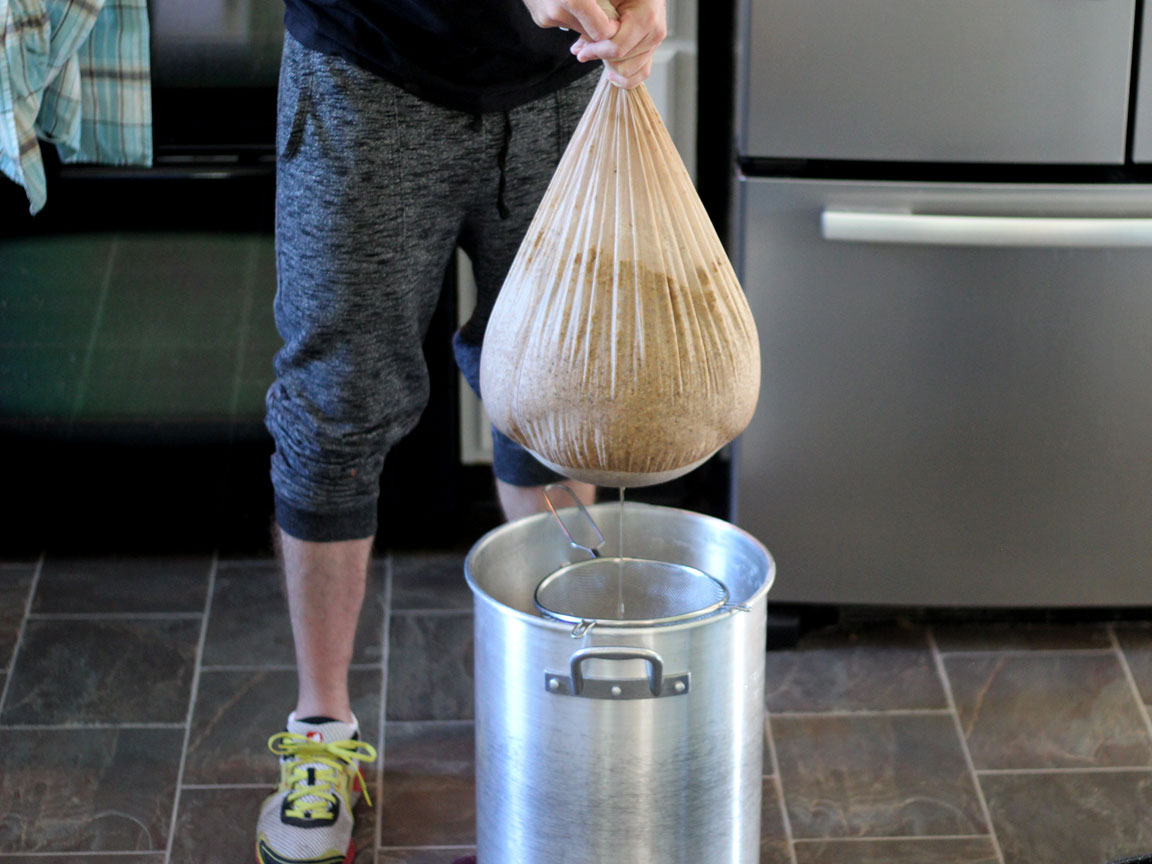 Teabagging my wort.
The hops
Like the malt, buying hops in bulk is much cheaper. I usually buy my hops by the pound. Citra (affiliate link) is one of my favorites, and usually sells for around $22/lb at the home brew store. But this is one of the more expensive ones I buy, most hops sell for $14-$25/lb. I like my beers extra hoppy and usually get 3-4 batches out of a pound of hops.
Boil the wort and add the hops
The wort gets boiled for 1 hour, and hops are added at different times to add different flavors and aroma. Hops added early on in the boil will give the beer more bitterness, hops added toward the middle add flavor, and hops added toward the end add aroma. I add more hops after the beer is fermented for even more hop aroma.
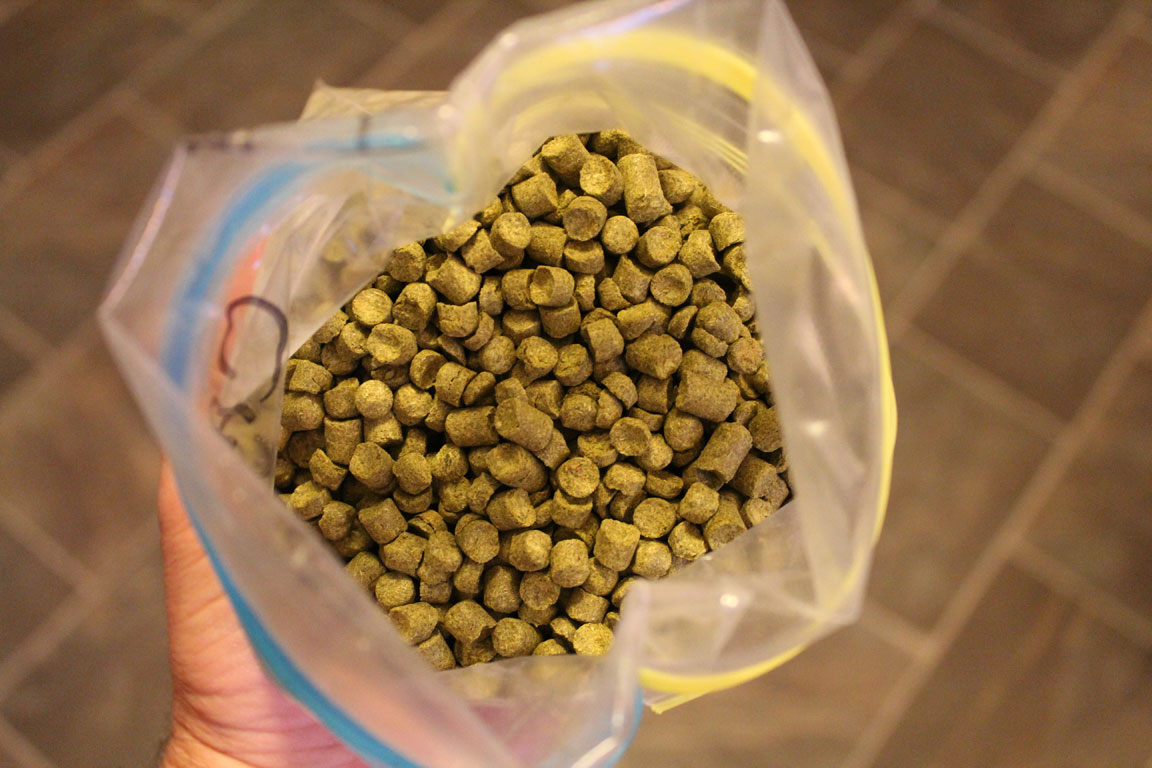 Those Citra hops smell so good.
The cheapest and easiest brewing yeast
Once the boil is complete and the wort has cooled, I put it in my carboy (affiliate link) and add little yeast babies that eat the sugar, burp CO2, and poop out alcohol. There are some yeasts who make some really funky shits (affiliate link). These stinky little yeasts are what give Belgian beer and Saisons all the funky rotten flavors that, like a stinky cheese, are just oh so right even if they smell wrong. But there are also yeasts that make nice clean poops – ones that you can’t taste or smell – and these yeasts are perfect for beers like IPAs that showcase hop flavors and aromas.
The cheapest and easiest brewing yeast to deal with are dry yeast. They sell online for very cheap, usually around $3 a packet (affiliate link). All you have to do is sprinkle the dry yeast on the wort, put an airlock (affiliate link) on the carboy, and cover it to protect from any light. Then just let the yeast babies do their thing. To save money, I will also re-use yeast. When fermentation is complete, yeast settles at the bottom of the carboy where it can be collected to use in the next brew.
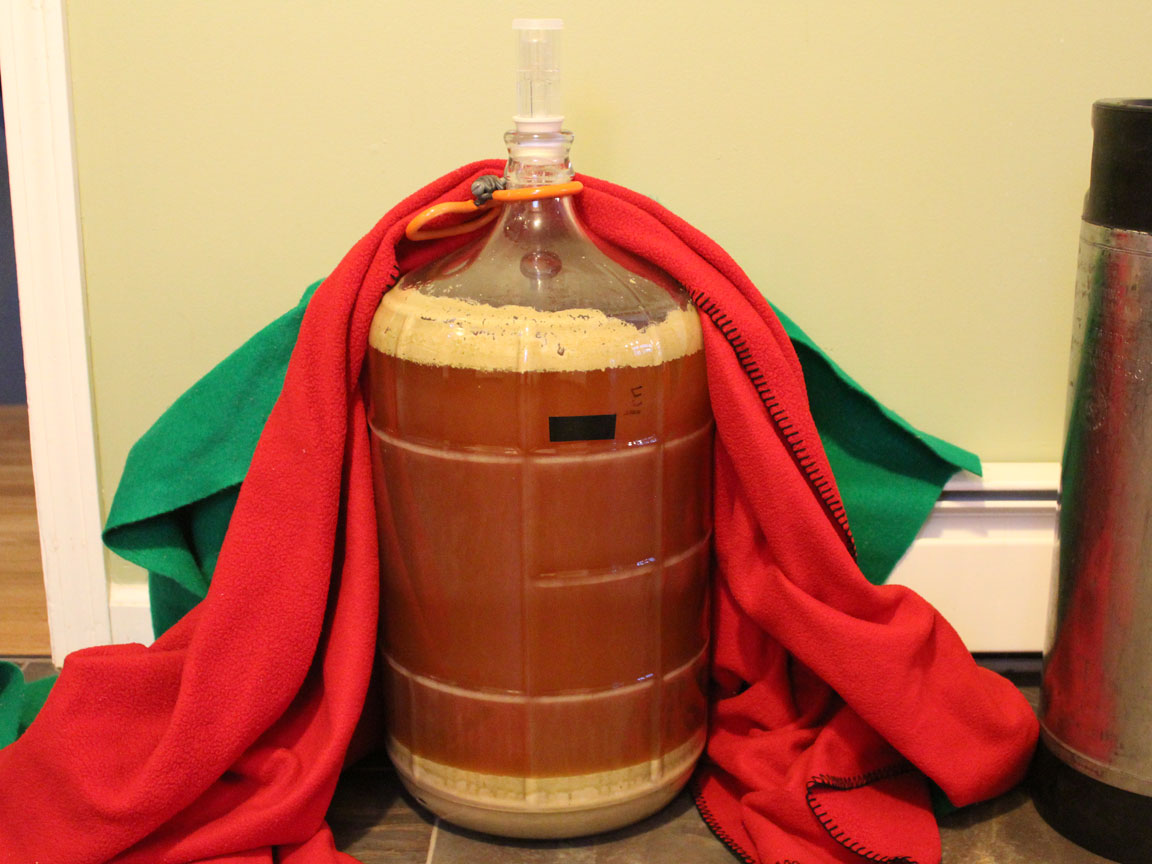 Beer fermenting.
Keg that beer and keep it in a keezer
Once you stop seeing CO2 bubbling out of the airlock (affiliate link), the fermentation is complete. This usually takes 1-2 weeks. At this point you can either bottle or keg the beer. If you’re just starting out, then bottling is the cheaper way to get going, but it’s a hassle cleaning and filling individual bottles. If you plan to brew a lot, then a good option for a cheap all grain brewing setup is going with a soda keg. I use my ultra efficient fridge as a keezer for keeping 3 kegs. Old chest freezers sell for $50-$100 and converting them to a fridge is easy. I bought my soda kegs for about $50 a piece on Craigslist.
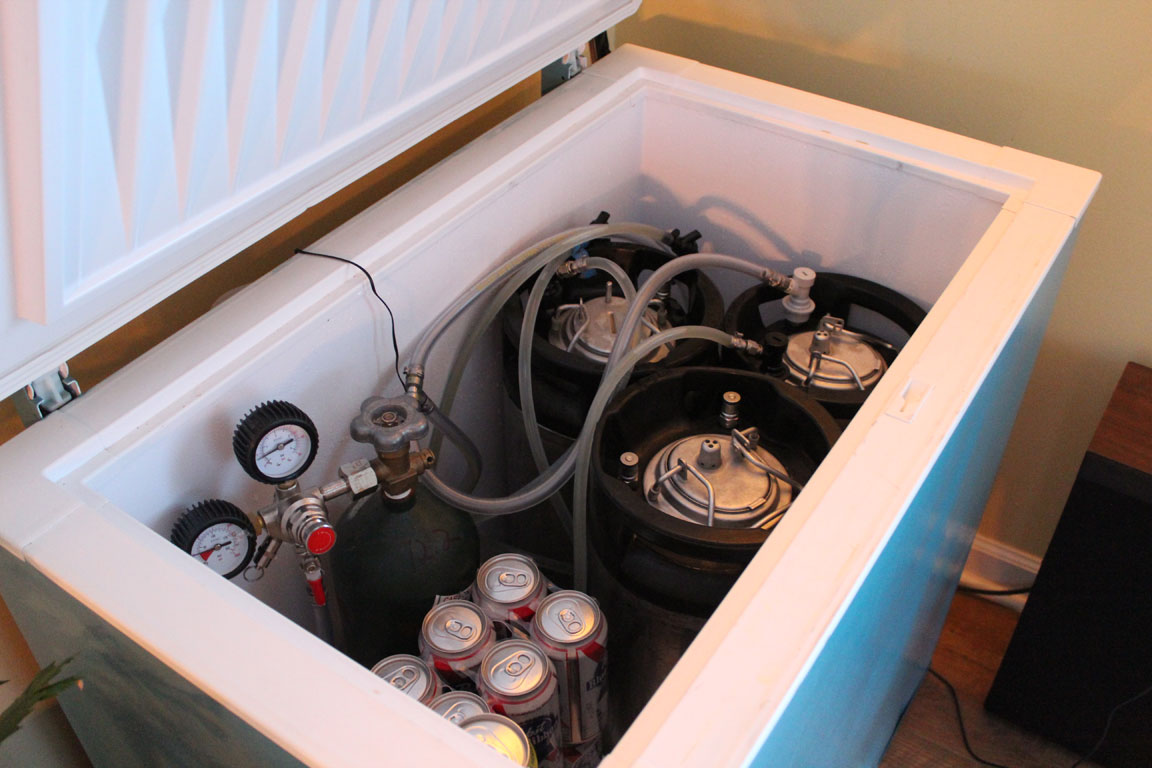 The ultra efficient fridge holds 3 kegs and 2 cases of beer!
The beer is ready at this point, but it’s much tastier carbonated. I put the beer in the keg, hook up the CO2, and turn the pressure up to 30-psi for a couple of days. After that I turn down the pressure and the beer is ready to go.
Have a party
Now that you have brewed your all grain beer, why not have a keg party? When I have a particularly good brew on tap, we will have a few friends over and make some pizzas. Sometimes, we will have a bigger happy hour potluck style. Often times we end up with a good variety of beers that friends bring, so we get to sample all kinds of beer.
 Sharing is caring.
Going out to bars and socializing used to be one of our biggest expenses. The ingredients to make a batch of all grain homebrew only cost me $20 to make 50 beers, and I use the cheapest all grain brewing setup there is. It’s cheaper to host friends and make all the food and beer than it is for the two of us to go out for dinner. This saves us and our friends loads of cash, and we get to have an awesome time with excellent brews, food, and company.