The Secret to Pizzeria Quality Pizza
We used to go to our favorite pizzeria once a week. For a small pie and a salad to split, our bill was usually less than $20. At the time, this seemed like a decent deal. I thought you needed a commercial pizza oven and special ingredients to make a pizzeria quality pie. But over the last few years, I’ve uncovered the secrets to making pizzeria quality pizza at home. These techniques do require some planning, but not much time. And pizza ingredients are very cheap – we can make better pizza than our local pizzeria for $2 a pie.
 Homemade Pizza Napoletana Margherita for $2
How to make a Pizza Napoletana Margherita at home
The secret to excellent pizza is allowing your dough to cold rise over several days. The cold rise is what separates pizzeria pizzas from mediocre homemade pies. I usually make a very basic dough recipe that is used for a traditional Napoletana pizza. The only ingredients are flour, water, yeast, and salt. These simple ingredients are transformed into something completely different through a long, slow, cold fermentation.
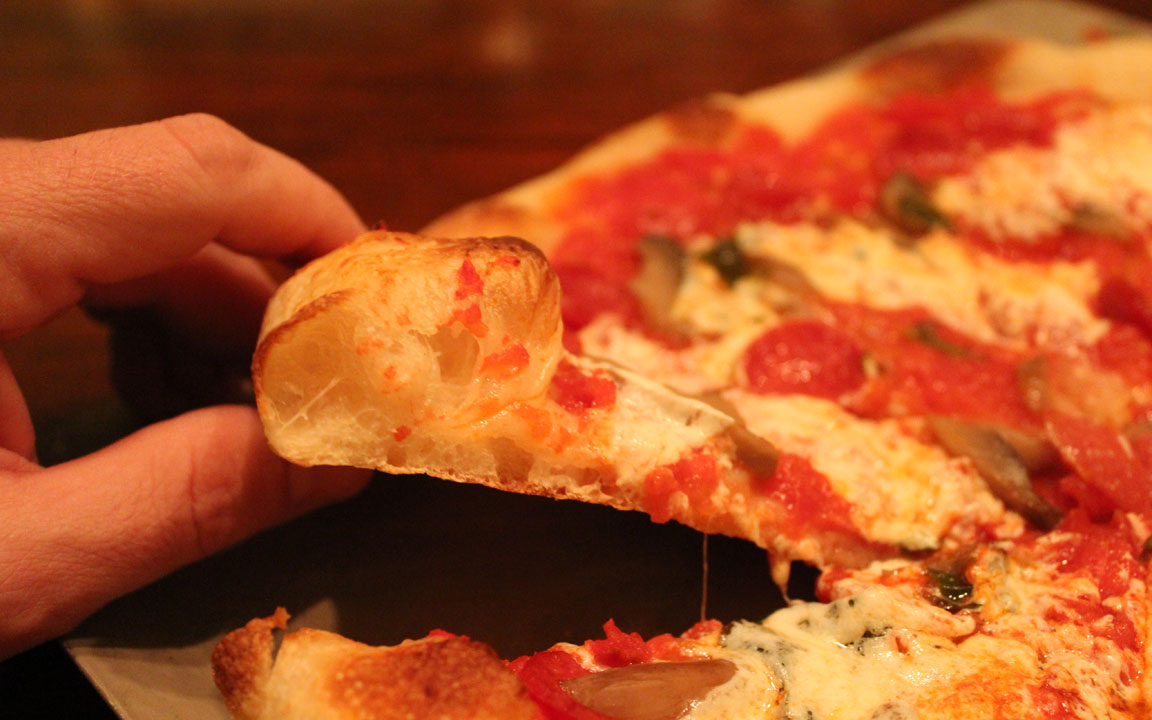 Those big air pockets and dark crust come after a long cold rise
While the ingredients are simple, the type of flour you use is important – I use King Arthur bread flour. Bread flour has a higher protein content than all purpose flour. The proteins are transformed into gluten which become the glue that holds your dough structure together. This translates to big airy pockets and nice browning of the crust. I have tried imported Caputo flour from Italy as well as cheaper Pilsbury dough flour, both work, but I prefer the King Arthur flour.
Pizza Napoletana Dough Recipe (enough for 3 pies) :
3.5 cups Bread Flour
2 cups Water
1 tsp Active Dry Yeast
1.5 tsp Salt
Put the salt in the bottom of the mixing bowl, add the flour on top, then make a well in the flour to add the yeast and the water. It’s best to let the yeast activate in the water before it comes in contact with the salt. Slowly swirl in the flour with your fingers. Once the mixture starts forming a dough, take it out and knead it.
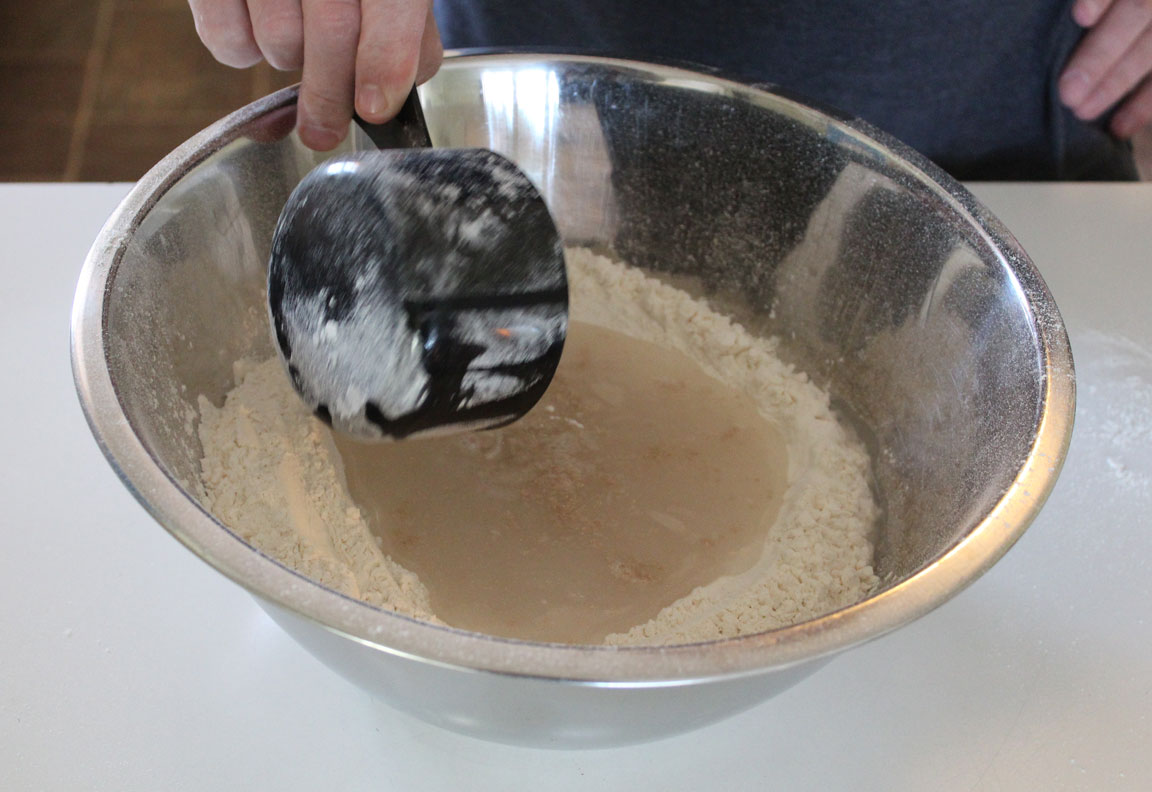 Form a well , add yeast then pour in water to activate the yeast
You can adjust the hydration of the dough by either adding more flour or wetting your hands while kneading. I like to have the wettest dough that is still workable. Because home ovens are not as hot as the commercial ones, you will have to cook the pie for longer, and having a dough with higher water content will keep the crust light and fluffy during a longer bake.
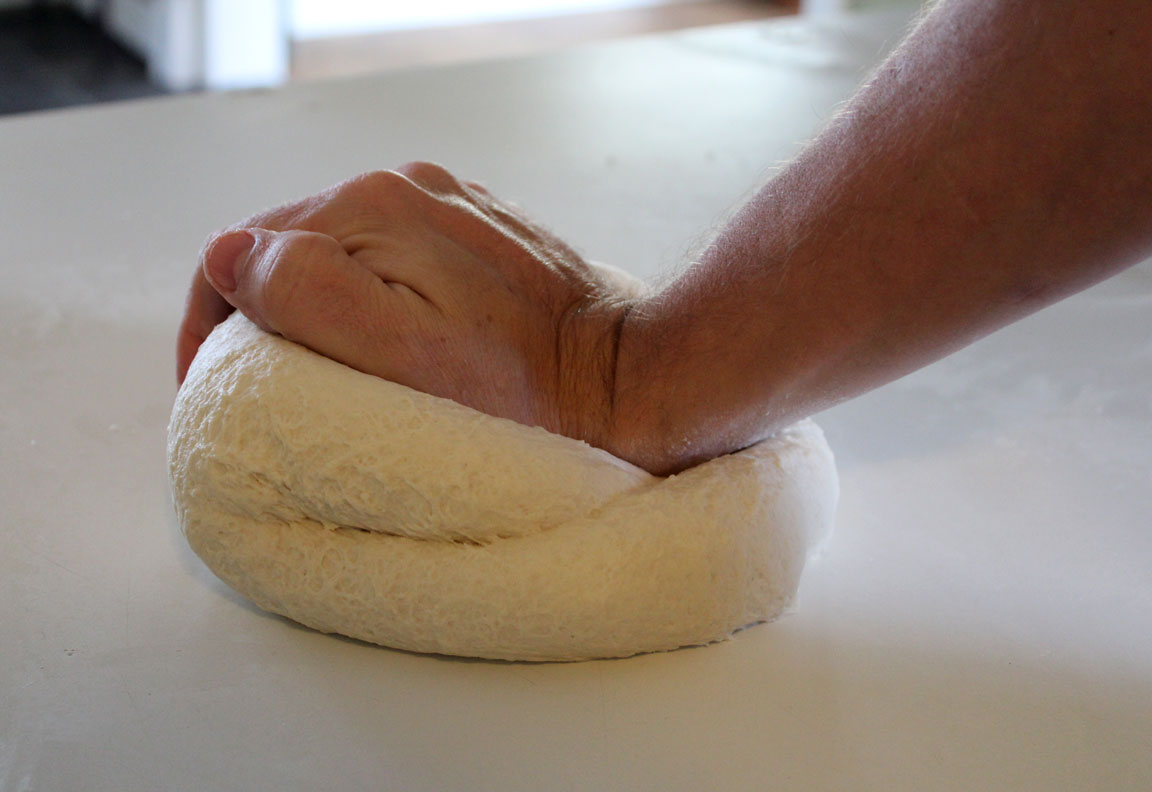 Knead the dough for at least 10 minutes until smooth
</div>The dough should be kneaded for at least 10 minutes, and I’m talking some vigorous kneading – you should be getting a workout. After a good kneading, you should have a uniform ball of dough. Place it back into the mixing bowl, cover it, and let it rest for about 1 hour. The length of this rest period can vary based on the dough temperature, but let it at least double in size before moving on to the cold rise.
Once the rest is completed, the dough should be perfectly smooth. You want to split it into 3 equal sized chunks. I use a kitchen scale (affiliate link) to measure out the portions, but it’s no big deal if they are off by a bit. Form each chunk into a ball by continuously pinching the bottom in on itself pulling the skin of the dough tight.
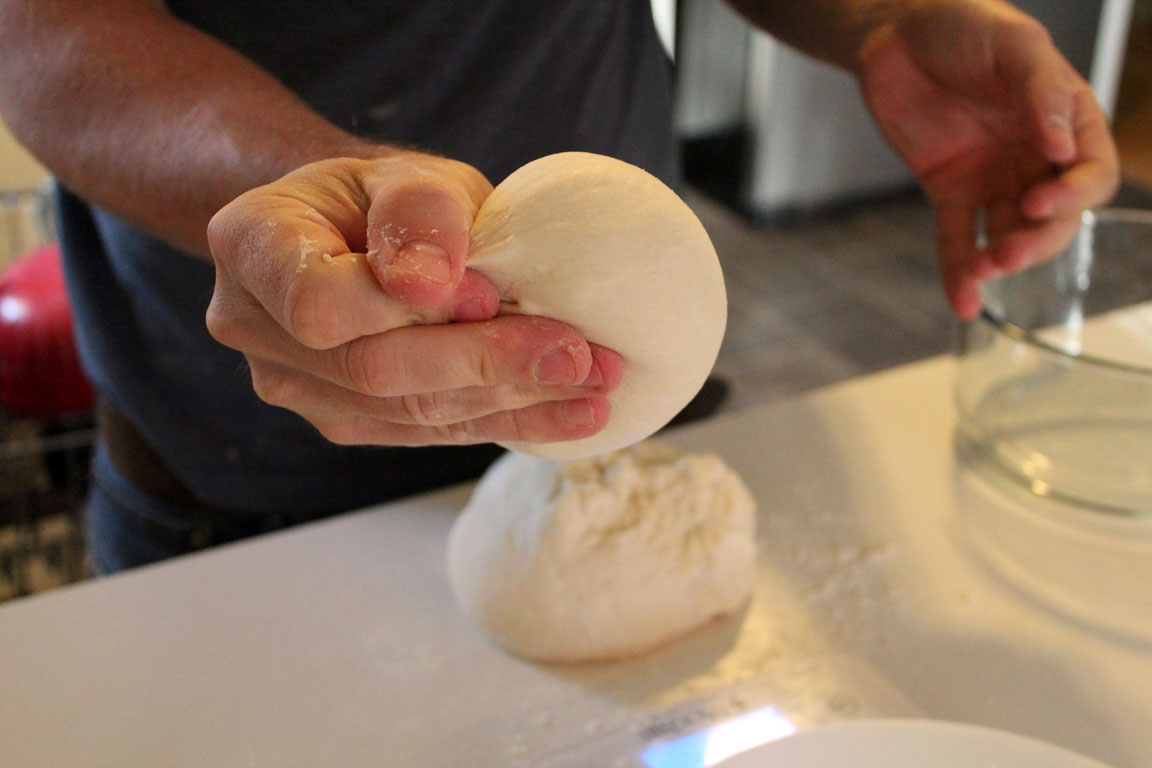 After resting dough, form dough balls
Place the dough balls in containers and let rise for 3-7 days in a refrigerator. The fermentation process slows down at a lower temperature, and the yeast develops all the nice flavors and aroma. A good cold rise of 5 or more days will result in a darker crust with large bubbles and excellent flavor.
 Store in fridge for 3-7 days
What do you need to bake your pizza pie
You don’t need a brick oven, but you will need a pizza stone and a pizza peel. Get a good pizza stone – cheap ones will crack after a few uses. I recommend one that is made of cordierite. For about $40, I bought both this pizza stone and a pizza peel (affiliate links) online. I’ve used them to make dozens of pizzas over the last 3 years without any issues.
Preheat the pizza stone
The pizza stone stores the oven’s heat and needs time to come up to temperature. Place the pizza stone in your oven and crank it to the max temperature setting – the max for my oven is 550 deg F. You can check it with a laser thermometer (affiliate link) , but usually I just start heating the stone 1 hour before baking. Don’t skip this step or you will end up with a burnt mess for dinner.
It is also a good idea to pull your dough out of the fridge at this point. It’s better if your dough isn’t cold going into the oven.
Make the sauce
Most “tomato sauce” you buy in the store tastes nothing like tomatoes. Making sauce from canned whole tomatoes is key. Depending on how much sauce you like, a big can covers 2-3 pies. Pop open a can and take out the tomatoes, leaving the juice behind. For 1 pie, add about 1/8 tsp of salt (salt levels vary by brand, so taste as you go) to 3-4 tomatoes and puree in a blender or food processor, or just mash it with your hands, you animal. Consistency is up to you, we like ours a little chunky.
Prepare toppings
Get toppings ready so you can top your pie quickly once you have the dough stretched out. Be sure not to overdo it. If you put too many toppings, your crust will not cook correctly. A Napoletana Margherita calls for fresh mozzarella, fresh basil, and a drizzle of olive oil.
Assemble your pizza pie
Be very gentle while handling the pizza dough. It should have nice CO2 pockets formed inside, and the goal is to keep them intact. This is why a good pizzaiolo will carefully stretch the dough with his hands rather than using a rolling pin. If you roll the dough, you will pop all the CO2 pockets and give Tony Gemignani an aneurysm. Always stretch around the perimeter to avoid weakening the center of the pie.
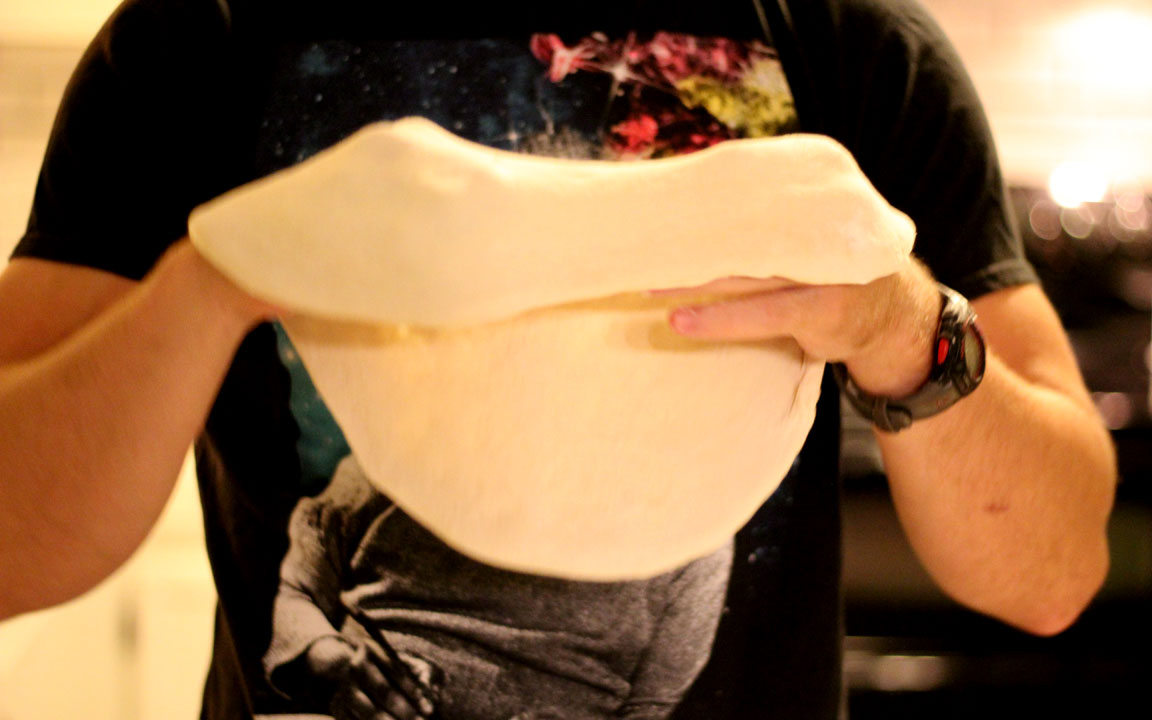 Carefully work the dough, stretching around the perimeter for an even crust
Place the uniformly stretched pizza base on a well floured surface and spread on the sauce. Once you start topping it, you need to work fast, the wet dough will absorb the flour underneath and stick to the surface. I usually start on the counter top, then transfer it to a floured pizza peel. This requires a bit more care to avoid a hole in the pizza, but allows for one final stretch and minimizes chances of it sticking to the peel.
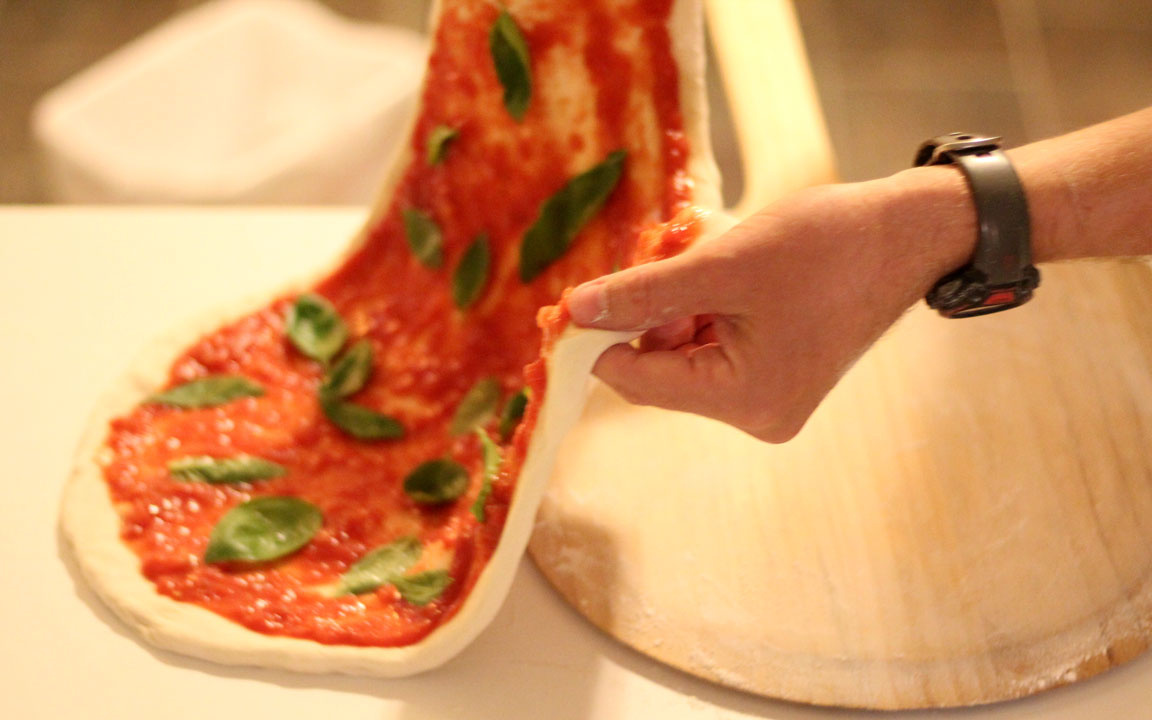 If the dough feels weak, I pull it onto the peel before finishing the toppings
Take your pizza peel and with a little shimmy, slide the pie onto the hot stone in your oven. Cooking time will vary based on thickness of your pie and the oven temperature, but 6-8 minutes usually does the trick for me.
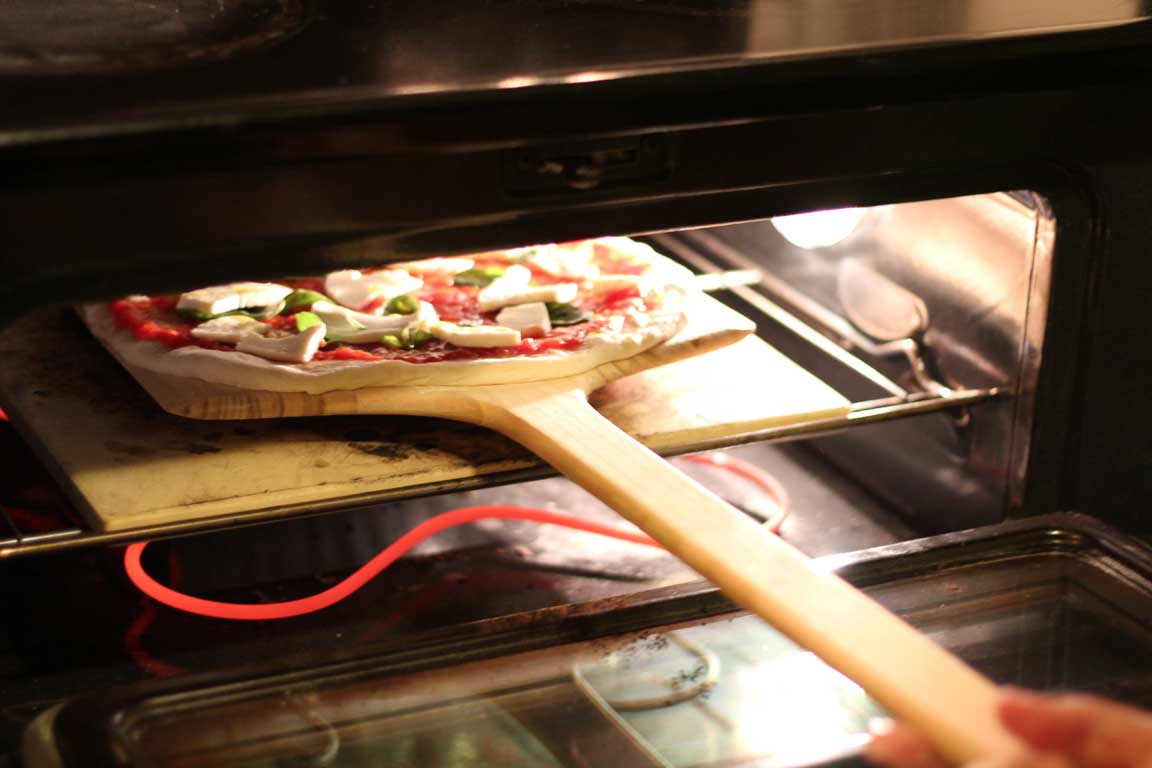 Just shake it onto the stone
Practice makes perfect
While we ate them all, not all of our early pies were pizzeria quality. I’ve had pizzas get stuck to the counter top, the pizza peel, and some even folded under on the pizza stone making a big mess. But with practice I’ve learned how to better handle the dough and time the cold rise. Now we look forward to the winter when we can brew beer and run the oven for hours to make pizzas and heat up the house.
 One of the best local pizzas vs. ours
We rarely eat pizza out anymore. It takes the same amount of time to prep some dough as it does to drive to a pizzeria. Once the dough is ready, we just need to start the oven an hour before we want to eat. And once the oven is heated up, it takes less time to prepare and bake a pie than it does to pay the check at a pizzeria. Maybe we are biased, but after a few years of practice, I don’t think we can buy a better pie than what we can make at home.